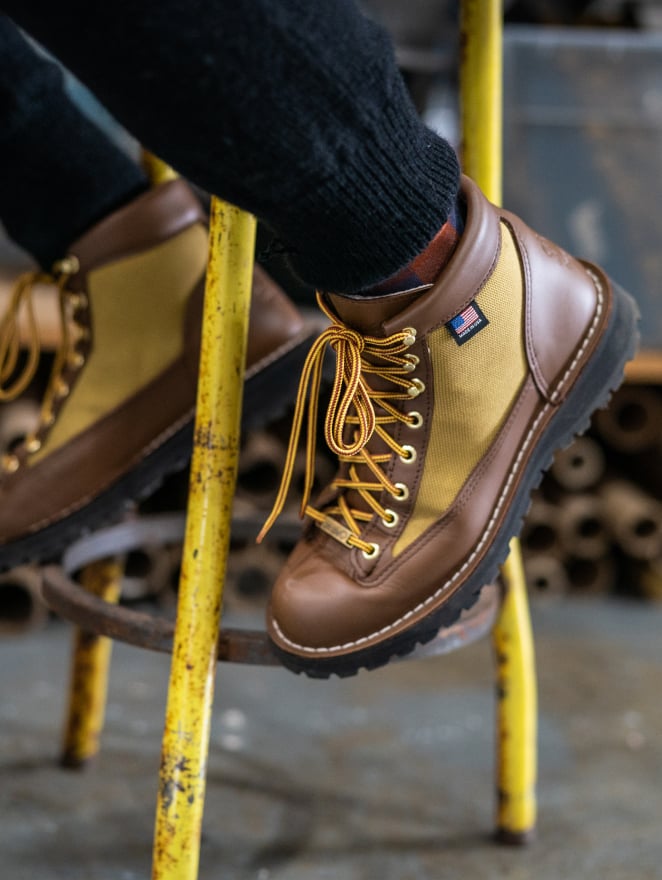
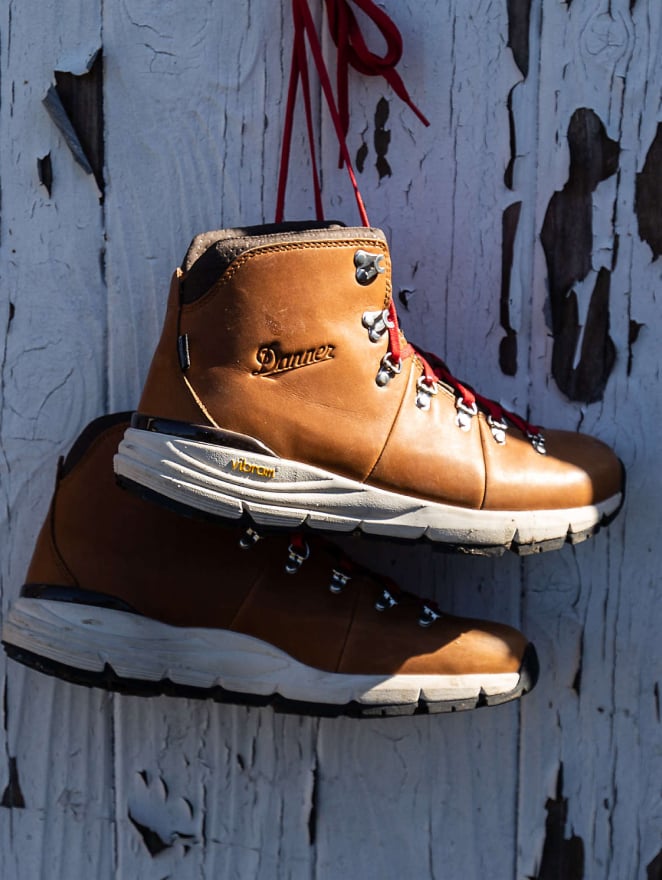
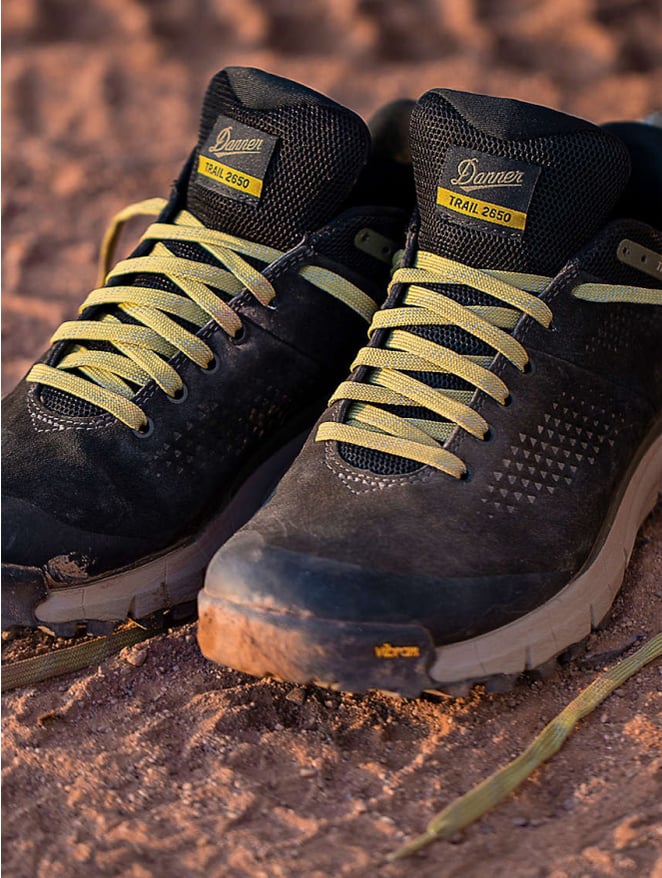
Full Grain Leather Footwear

Tip:If your boots have fabric or textile panels, there will be tips along the way for how to care for these materials!
When to Clean
After heavy use or when dirt and grime have accumulated
Active Time:10 minutes
Wait Time:30 minutes
Everything In One Kit
Or Choose Your Own Tools
Step 1
Remove laces & kilties
Removing these items will allow you to clean the leather without any obstruction. If your boot has a kilty, you can clean it using the same steps in this guide.
Step 2
Remove dirt & debris
Using a brush, clean all dirt from the boot exterior, including; the gusset, collar, and welt.
For stuck debris, gently scrape using the beveled edge of the Cleaning Brush or any flat tool. Clean between the lugs.

Step 3
Apply cleaning solution
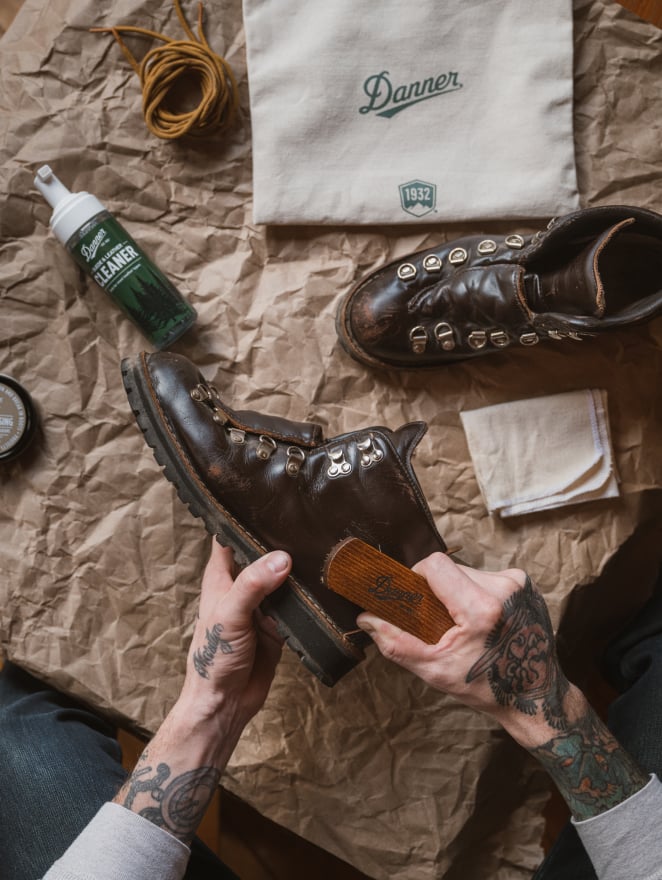
Hold the bottle in an upright position and apply a small amount of Suede & Leather foam cleaner to the leather. Gently work the cleaner into the leather taking care not to saturate it.
Tip:If your boot has fabric or textile panels, it’s safe and recommended to use the Suede & Leather cleaner on it!
Step 4
Wash the laces
While you wait, wash the laces using mild soap and warm water. Hang to dry. Rinse the brush and let it dry.
Step 5
Wipe away excess solution
If there is excess cleaning solution on the leather surface, wipe it off with a clean, soft cloth.
Step 6
Cleaning is complete!
Allow your boots to dry for about 20 minutes.
We recommend conditioning your full-grain leather boots after they dry by following our Condition guide in the section below.
When to Condition
After heavy use or when leather is scuffed and begins to look dry
Active Time:10 minutes
Wait Time:30 minutes
Everything In One Kit
Or Choose Your Own Tools
Soft cloth
Step 1
Test conditioner on leather
Using your finger, apply a small amount of Boot Wax or Boot Conditioner to clean, dry boots on a discrete area, such as the tongue (under the laces), to test the effect. It’s normal for the leather to darken slightly when conditioner is applied.
Step 2
Apply conditioner
Once satisfied with the test, apply the conditioner to all of the leather using a soft brush or your finger.
Apply conditioner to the stitching to keep the threads lubricated & reduce premature wear.
Tip: If your boot has fabric or textile panels, avoid getting any boot wax or dressing on this material. Apply it only to the leather and stitching.
Step 3
Allow conditioner to set
Once conditioner has been applied to the leather and stitching, allow it to set for about 20 minutes. This allows enough time for the leather to absorb the conditioner.
Apply conditioner to the stitching to keep the threads lubricated & reduce premature wear.
Step 4
Buff & remove excess
Once the conditioner has set for about 20 minutes, buff the conditioner into the leather using a soft cloth or a clean, dry brush with soft bristles.
Wipe away all excess conditioner from the leather using a soft cloth.
Step 5
Conditioning is complete!
Conditioning your boots sufficiently revives and protects full-grain leather. If you’re satisfied, you can lace your boots back up and be on your way.
If you use your boots in wet conditions and would like an extra layer of protection, follow our Waterproof guide in the next section.
To learn more, visit Leather Conditioners
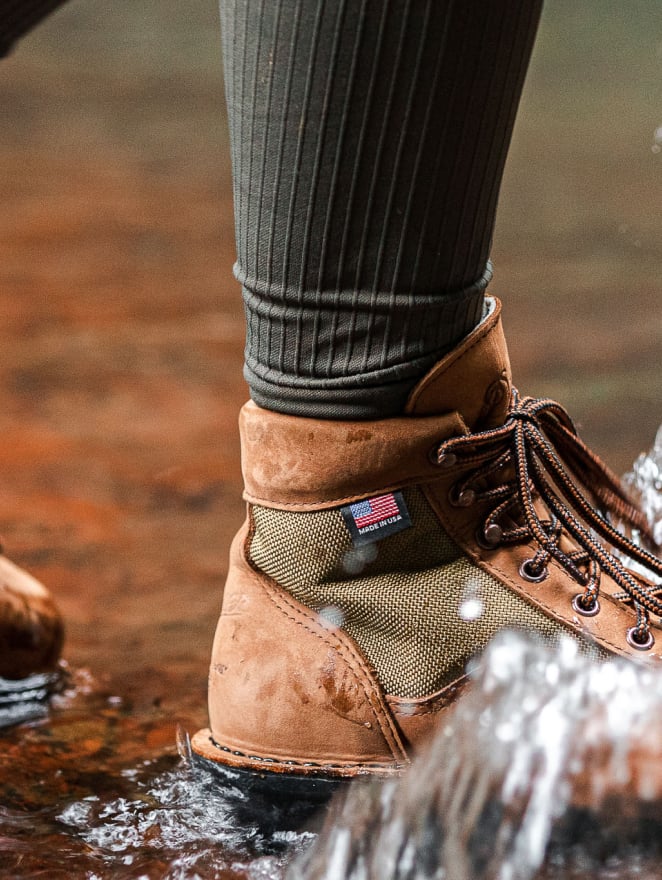
When to Waterproof
In wet conditions as an extra layer of protection
Active Time:5 minutes
Wait Time:5 minutes
Tools
Soft cloth
Step 1
Apply waterproofing product
If using gel, squeeze a dime-sized dollop onto clean, full-grain leather and work it into the pores using a soft cloth. Continue this process until gel has been applied to all parts of the leather.
If using spray, hold the bottle a few inches from the exterior leather of your boot and apply as evenly as possible.
Tip:If your boot has fabric or textile panels, use the Waterproofing Spray, it’s safe and effective for all material types!
Step 2
Allow boots to dry, wipe clean
Allow your boots to dry for about 3-5 minutes.
If you used gel in step 1, wipe any excess product from the surface of the leather using a clean, soft cloth.
If you used spray in step 1, it’s unlikely that there will be any excess product. If there is, wipe clean with a soft cloth.
Step 3
Waterproofing is complete!
Reapply the Danner Waterproofing Gel or Spray to full-grain leather boots whenever you notice the boots taking on excess water.
If your boots could use a freshening up, follow our Odor Management guide in the next section!
To learn more, visit Waterproofing
When to Manage Odor
Often as a way to prevent bacteria growth in new and well worn boots
Active Time:2 minutes
Wait Time:5-60 minutes
Tools
Step 1
Dry boots & remove footbeds
If your boots are wet on the inside, dry them before applying odor reducing products. We recommend using a boot dryer.
If your boots have removable footbeds, take them out after your boots are dry.
It is not recommended to use high heat sources, such as direct sunlight or open flame, to dry your boots as it may cause damage, such as delaminating the outsole or cracking the leather.
Step 2
Apply Odor Eliminator
Spray the inside of your boots with Danner Odor Eliminator. Be sure to spray the front of the boot where your toes go.
Let them dry for 5-10 minutes before wearing.
Step 3
Odor is minimized!
You may repeat these steps as often as you’d like.
We recommend replacing footbeds once per year to manage odor.
To learn more, visit Odor Management
Footwear Care Articles
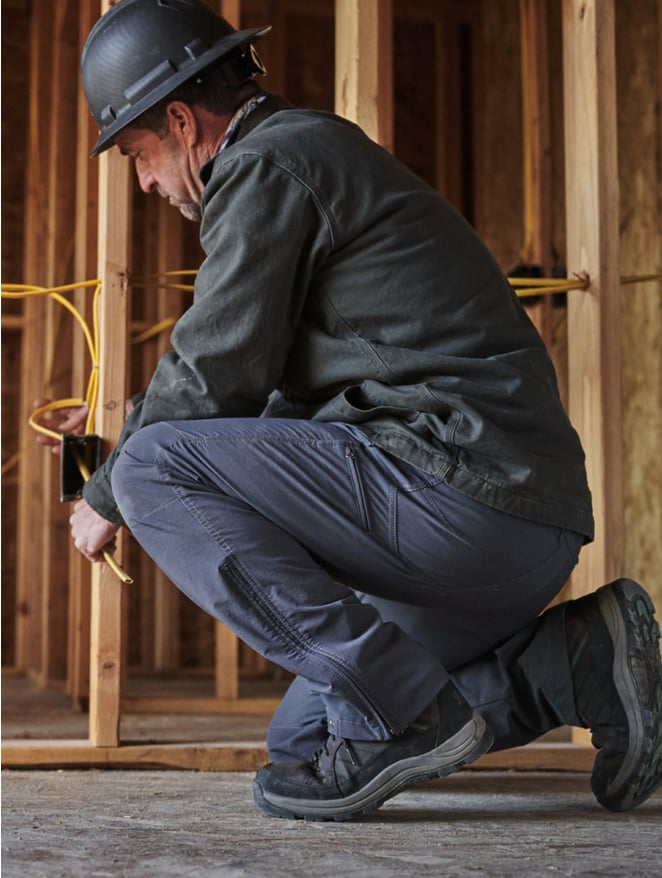
Caring for your footwear will extend their life and keep them performing their best.